

When using TELUS Fiber Internet, the Wi-Fi device (Boost / Wi-Fi Hub) and the Network Access Hub (NAH) are separate devices.
To configure DDNS or Port Forwarding, you must log in to the Network Access Hub, not the Wi-Fi booster.
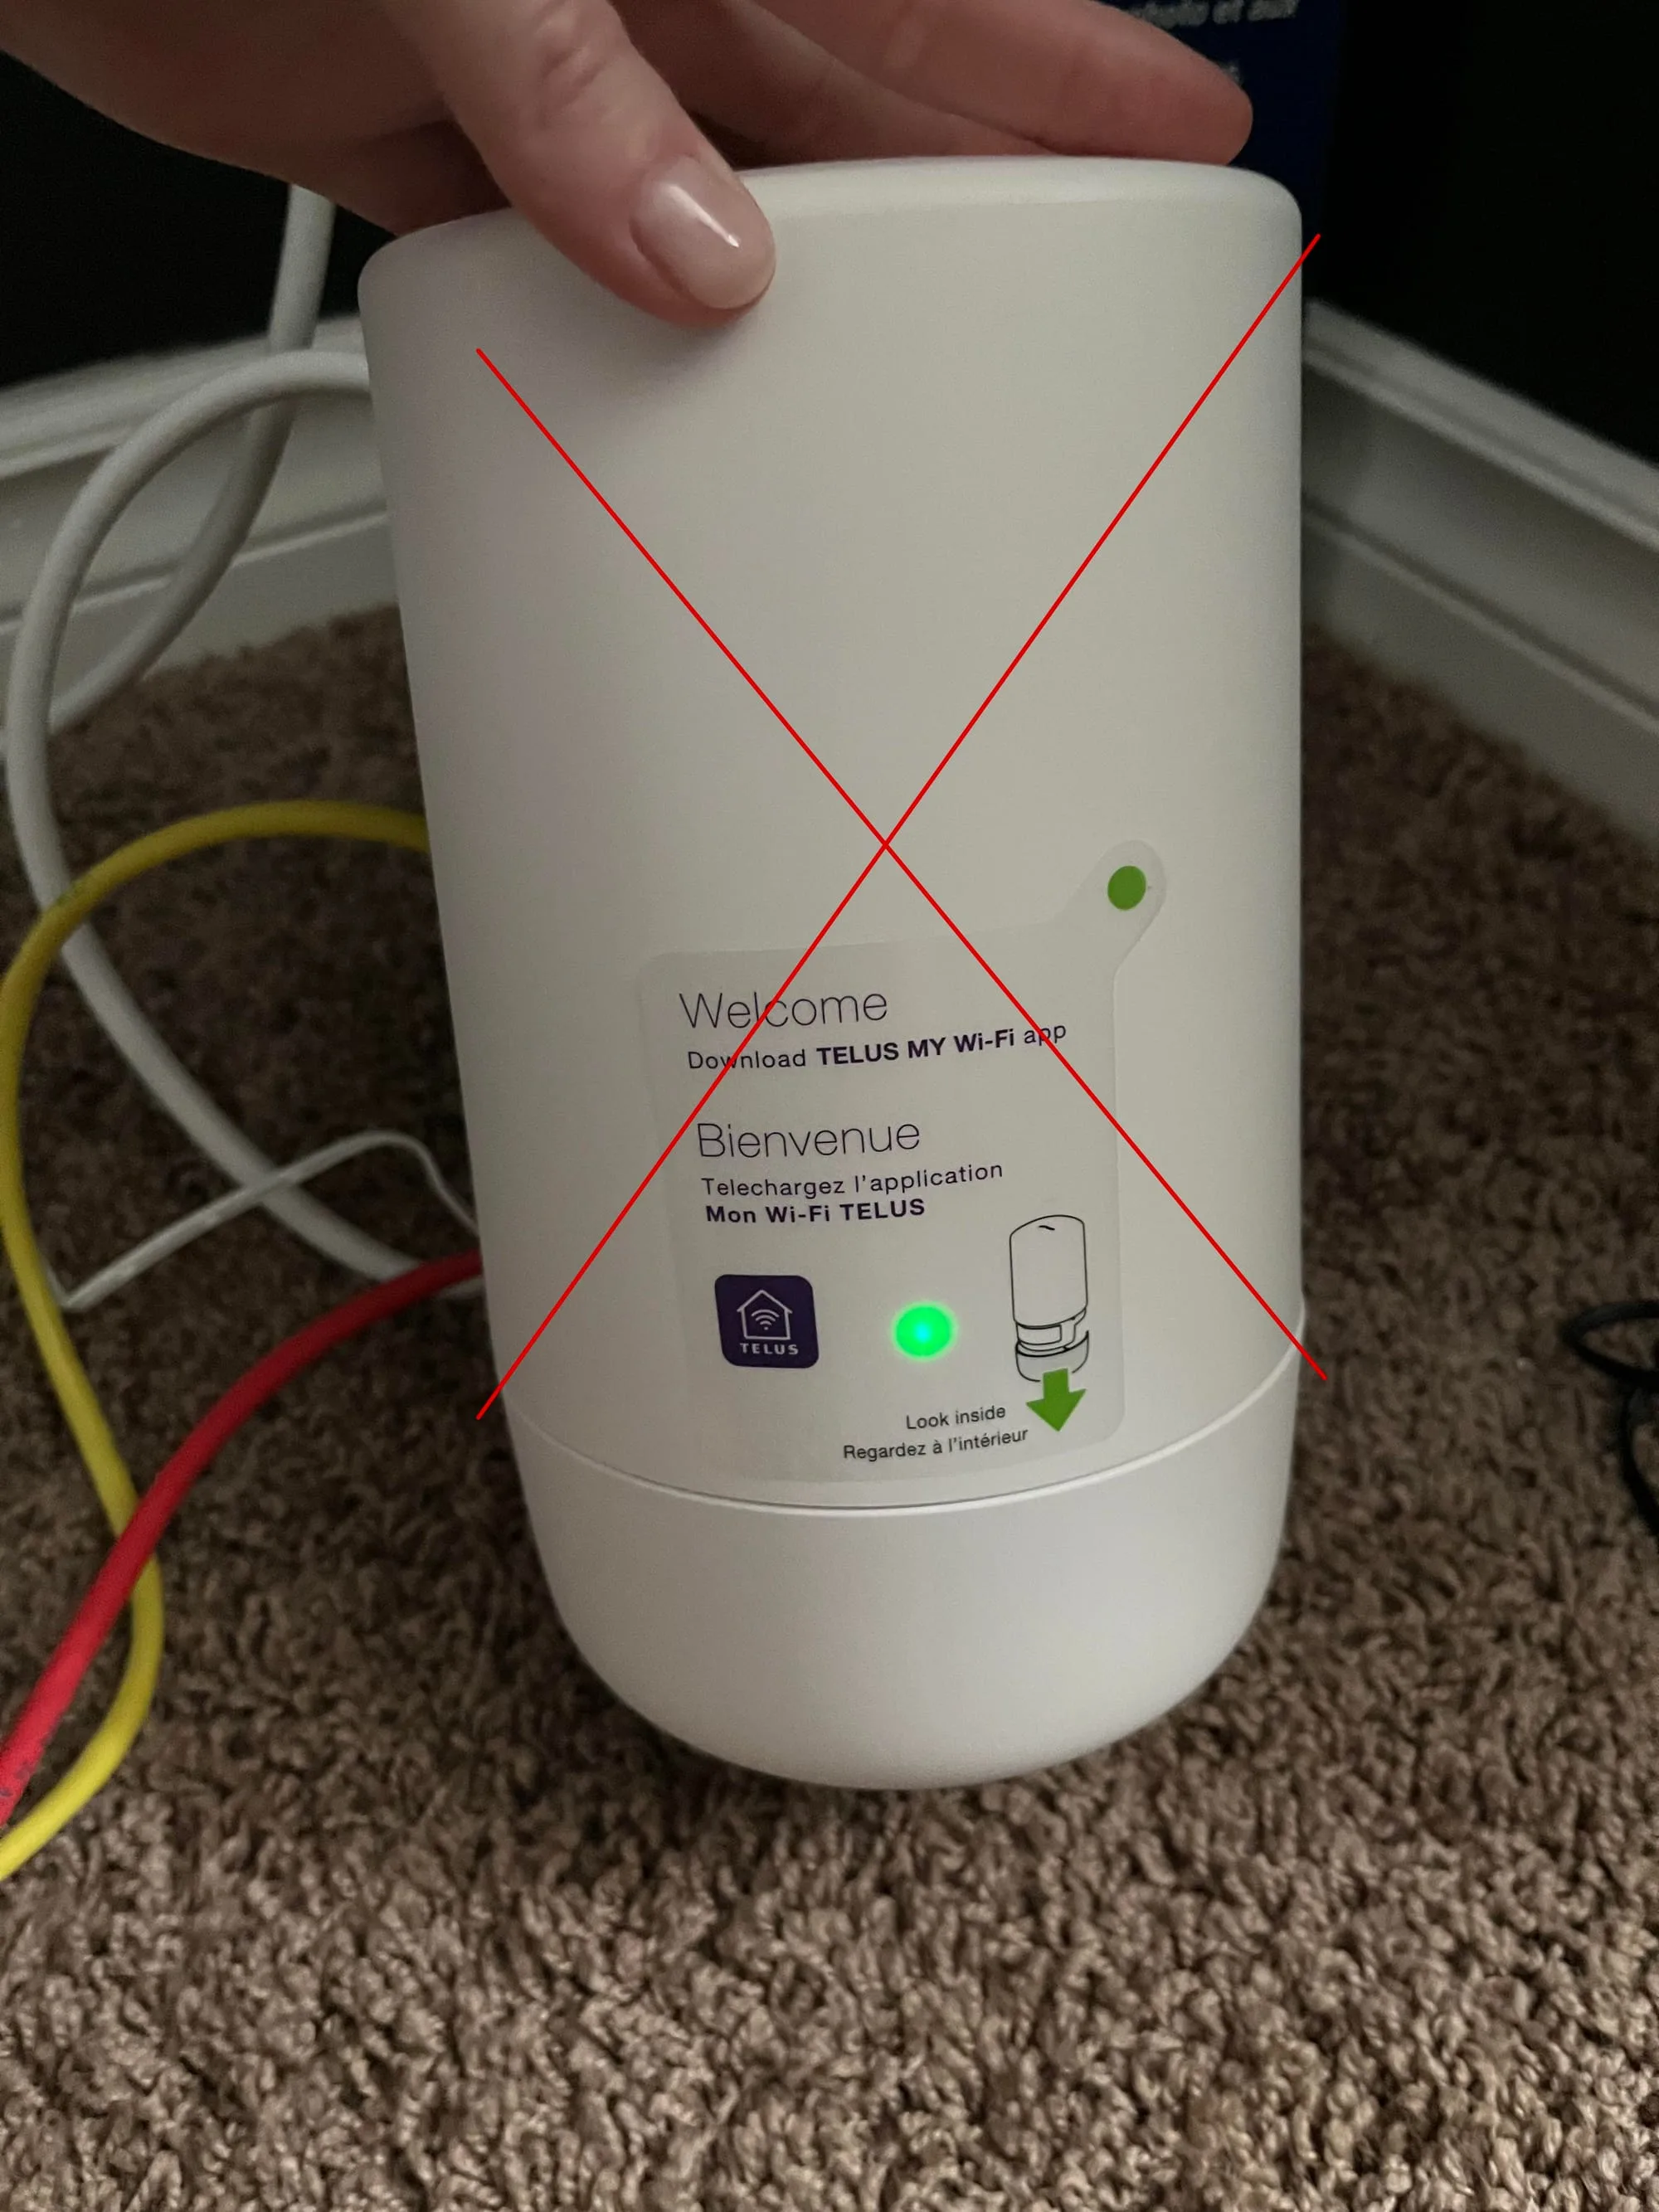
This guide explains how to identify device IP addresses and log in to the TELUS Network Access Hub for DDNS and port forwarding configuration.
1. Understand the TELUS Network Structure
A typical TELUS Fiber installation includes two different devices:
1) Network Access Hub (NAH) — Main Gateway
- Default IP:
192.168.1.254 - Functions: NAT, Port Forwarding, DDNS, Public IP management
- Usually mounted on a wall (square white box)
2) Wi-Fi Boost / Wi-Fi Hub
- IP address:
192.168.1.x - Function: Wi-Fi configuration only
- Cannot be used for port forwarding or DDNS configuration
Therefore, DDNS and port forwarding settings must be configured on the NAH (main gateway).
2. Find the NAH and Wi-Fi Device IP Addresses (Ubuntu)
You can determine the IP addresses of both devices using the terminal.
Step 1 — Find the NAH IP
$ ip route | grep default
default via 192.168.1.254 dev wlo1 proto dhcp src 192.168.1.133 metric 600
The address shown after default via is the NAH IP.
Step 2 — Find the Wi-Fi Boost IP
$ arp -a
OpenWrt.lan (192.168.1.254) at d8:d8:e5:11:09:60 [ether]
Boost2.lan (192.168.1.59) at 38:06:e6:28:76:71 [ether]
Here:
192.168.1.254→ NAH192.168.1.59→ Wi-Fi Boost device
3. Logging in to the TELUS NAH
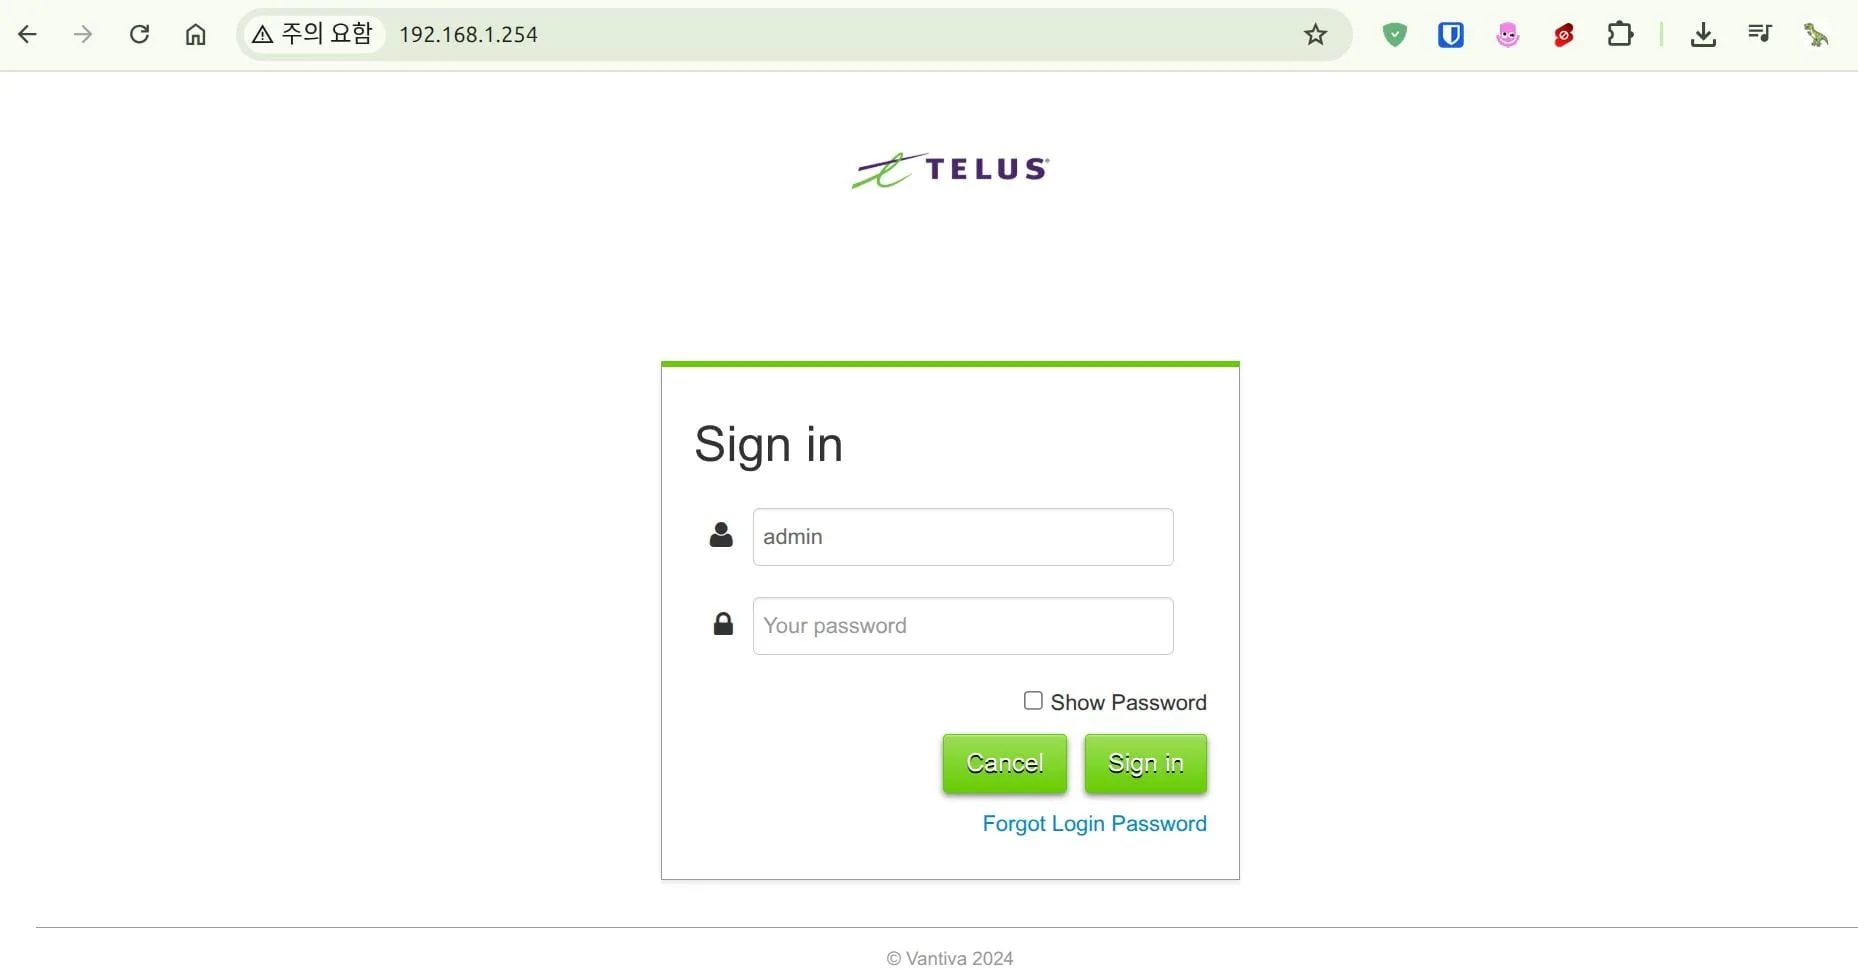
Step 1 — Open the NAH Interface
Open a browser and navigate to:
http://192.168.1.254Step 2 — Locate the Admin Credentials
The default admin credentials are printed on a label inside the Network Access Hub.
To access the label:
- Locate the NAH device mounted on the wall
- Gently pull the front cover forward (snap-off cover)
- Find the internal label showing:
Admin Username: admin
Admin Password: XXXXXXXX
Step 3 — Log in
Enter:
Username: admin
Password: (Admin password from the device label)
You will now access the TELUS gateway dashboard.
4. Verify That You Have a Public IP Address
After logging in, check the WAN IP in the dashboard.
Example:
WAN IP: 75.xxx.xxx.xxx- If WAN IP is public → Port forwarding and DDNS will work normally
- If WAN IP is private → Contact TELUS and request a Public IPv4 address
5. Configure DDNS
Navigate to:
Advanced
   → WAN Services
        → DynDNS IPv4
Then configure:
- Enable DynDNS
- Select provider
- Enter domain name
- Enter token/password
- Save
6. Configure Port Forwarding
Navigate to:
Advanced
   → NAT
        → Port Forwarding
Configure:
- Internal server IP
- External port
- Internal port
- Protocol (TCP/UDP)
- Apply
7. Recommended Configuration Order
For a stable setup:
- Reserve a static internal IP (DHCP reservation)
- Confirm WAN public IP
- Configure DDNS
- Configure port forwarding
- Test external access from a mobile network
Conclusion
To configure DDNS and port forwarding in a TELUS Fiber environment, you must log in to the Network Access Hub (192.168.1.254) using the admin credentials found inside the device.
Using Ubuntu commands such as ip route and arp -a, you can quickly identify the gateway and Wi-Fi booster IP addresses before accessing the configuration interface.