
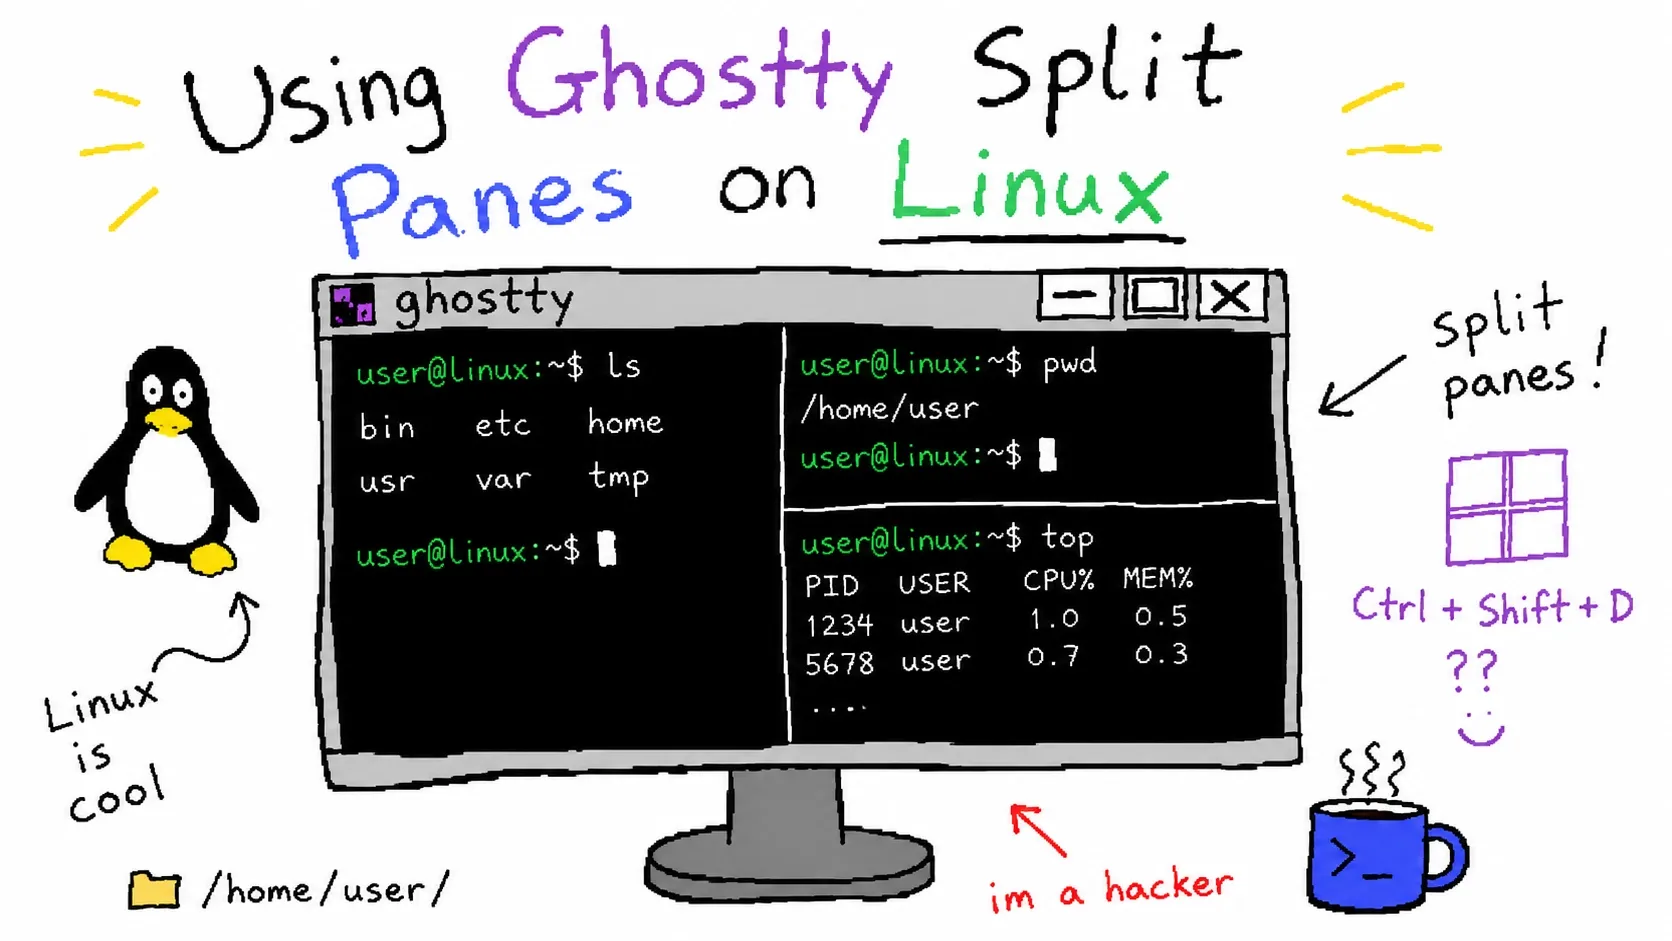
Ghostty provides a simple but useful split pane feature that lets you divide one terminal window into multiple working areas.
When working on Linux, I often need to run a server, check logs, use Git, or SSH into another machine at the same time. In that kind of workflow, Ghostty’s split feature is very handy. It lets me organize multiple terminal sessions in one window without always relying on tmux.
1. Basic Split Shortcuts
Here are the basic split shortcuts on Linux.
| Action | Shortcut |
|---|---|
| Split to the right | Ctrl + Shift + O |
| Split downward | Ctrl + Shift + E |
| Close the current split | Ctrl + Shift + W |
You can also close the current split by typing:
exit2. Moving Between Split Panes
Once you have multiple panes open, you can move the focus between them using the following shortcuts.
| Action | Shortcut |
|---|---|
| Move to the pane above | Ctrl + Alt + ↑ |
| Move to the pane below | Ctrl + Alt + ↓ |
| Move to the pane on the left | Ctrl + Alt + ← |
| Move to the pane on the right | Ctrl + Alt + → |
This is useful when you have one pane running a server and another pane showing logs or Git commands.
3. Resizing Split Panes
Ghostty also allows you to resize the currently focused pane.
| Action | Shortcut |
|---|---|
| Resize upward | Ctrl + Super(Win) + Shift + ↑ |
| Resize downward | Ctrl + Super(Win) + Shift + ↓ |
| Resize to the left | Ctrl + Super(Win) + Shift + ← |
| Resize to the right | Ctrl + Super(Win) + Shift + → |
If the pane sizes become uneven and you want to balance them again, use:
Ctrl + Super(Win) + Shift + =4. Zooming the Current Pane
Sometimes you may want to focus on just one pane without closing the others.
Ghostty supports a Toggle Zoom feature for this.
| Action | Shortcut |
|---|---|
| Zoom or restore the current pane | Ctrl + Shift + Enter |
This is especially useful when reading long logs, checking a large error message, or working with a command output that needs more space.
5. Customizing Keybindings
If the default shortcuts do not feel comfortable, you can customize them in the Ghostty config file.
The config file is usually located at:
~/.config/ghostty/configFor example, you can use Alt + \ to split to the right and Alt + - to split downward:
keybind = alt+\=new_split:right
keybind = alt+-=new_split:down
You can also use Alt + arrow keys to move between split panes:
keybind = alt+left=goto_split:left
keybind = alt+right=goto_split:right
keybind = alt+up=goto_split:up
keybind = alt+down=goto_split:down
And if you want to resize panes with Alt + Shift + arrow keys, you can add:
keybind = alt+shift+left=resize_split:left,20
keybind = alt+shift+right=resize_split:right,20
keybind = alt+shift+up=resize_split:up,20
keybind = alt+shift+down=resize_split:down,20
The number 20 means how much the pane size changes each time. You can increase or decrease it depending on your preference.
6. Reloading the Config
After editing the config file, you can reload the Ghostty configuration with:
Ctrl + Shift + ,Most simple keybinding changes can be tested right away, but some settings may still require restarting Ghostty.
7. Checking Current Keybindings
To check the default Ghostty keybindings, run:
ghostty +list-keybinds --defaultTo check the current keybindings, including your custom settings, run:
ghostty +list-keybindsThis is helpful when you want to confirm whether your custom shortcuts are applied correctly.
Final Thoughts
Ghostty’s split pane feature is simple, but it can make daily terminal work much more comfortable.
For example, you can keep your layout like this:
- one pane for running the application
- one pane for logs
- one pane for Git commands
- one pane for SSH or database work
The default shortcuts are already useful, but customizing them to match your own workflow makes Ghostty even better for everyday development.